How to create
2D character for Unity game.
Hash tags:
Photoshop
Unity
2D Art
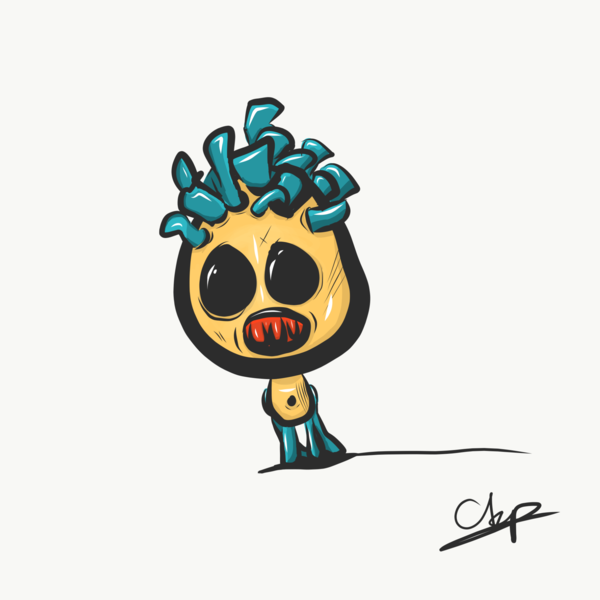
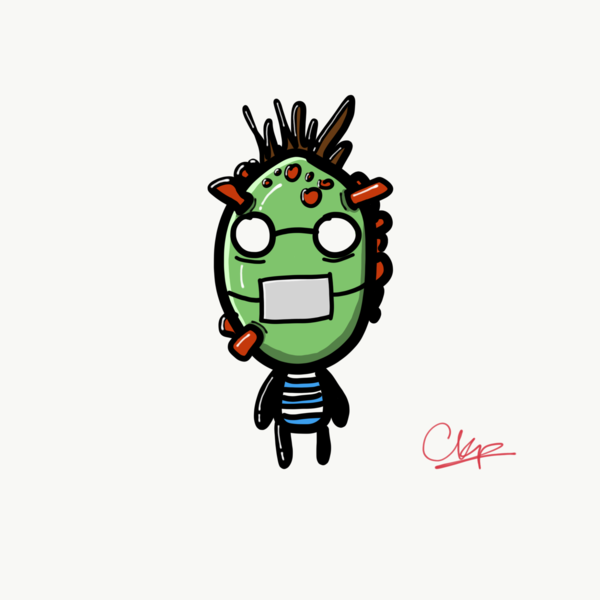
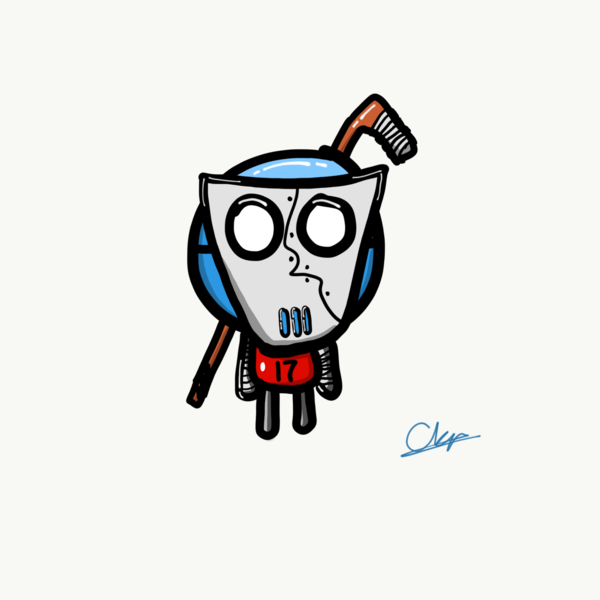
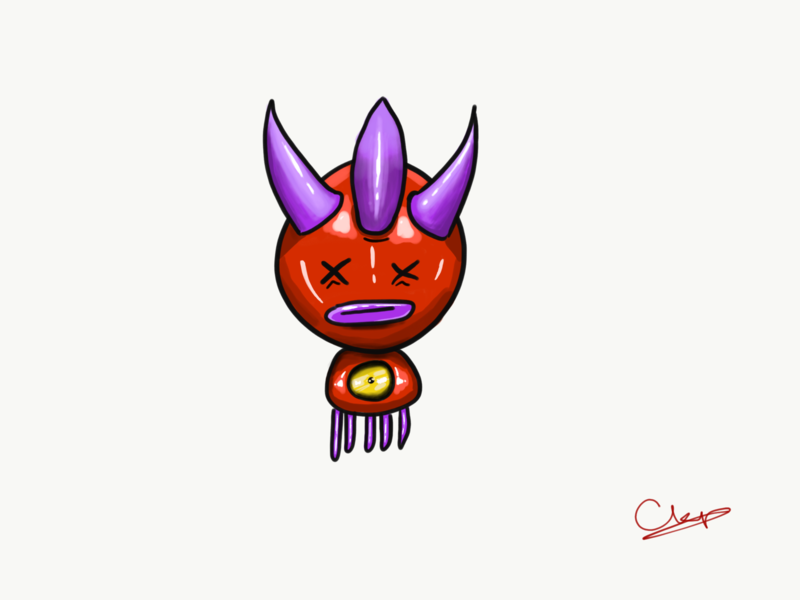
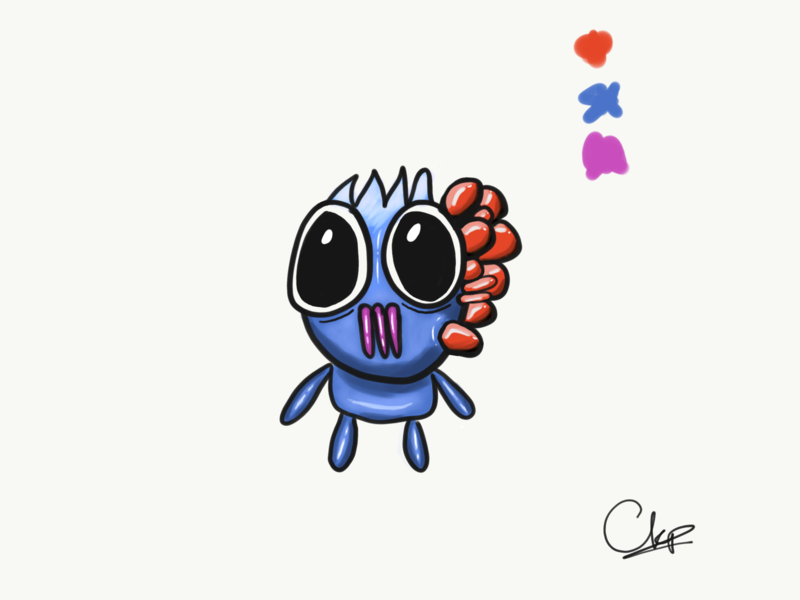
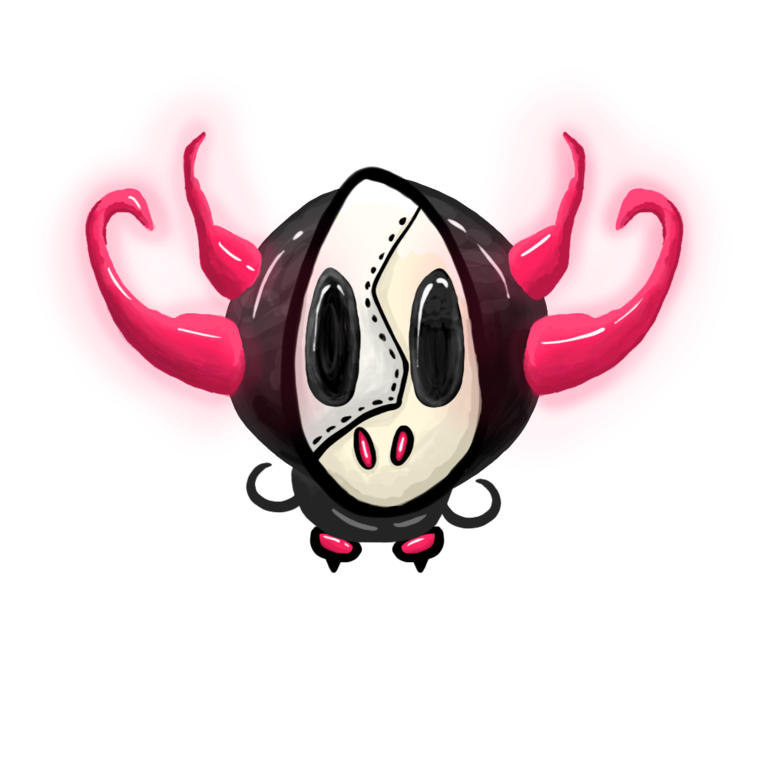
In the last couple of months, I have been sketching various game characters trying to find the best fit for my game and realized that if I would spend a bit more time separating parts of a drawing I could have a big set of 2D models possible suitable for my game:
I hope this short tutorial will be helpful for someone who might consider using their character sketches for future 2D games.
What we will need:
1. Photoshop, Gimp or any other graphic editors. I will be using photoshop.
2. Sketches(or future sketches)
Steps to follow:
1. There are two common animation technics(>2) that animators use in game development. The first one is drawing one frame after another, second and one which I am going to use is Bone-Based(Skeleton) technic.
As the name suggests, the animation will be on a per-bone basis, where each body bone can have a specific action or animation. Having all the main body parts of the character separated allows the developers to create the animations directly in the engine. This new animation technique is very similar to what is used in 3D animation.
So here we start with photoshop - mainly all we need to do is to make sure that all of the body parts of our character are in a separate layer.
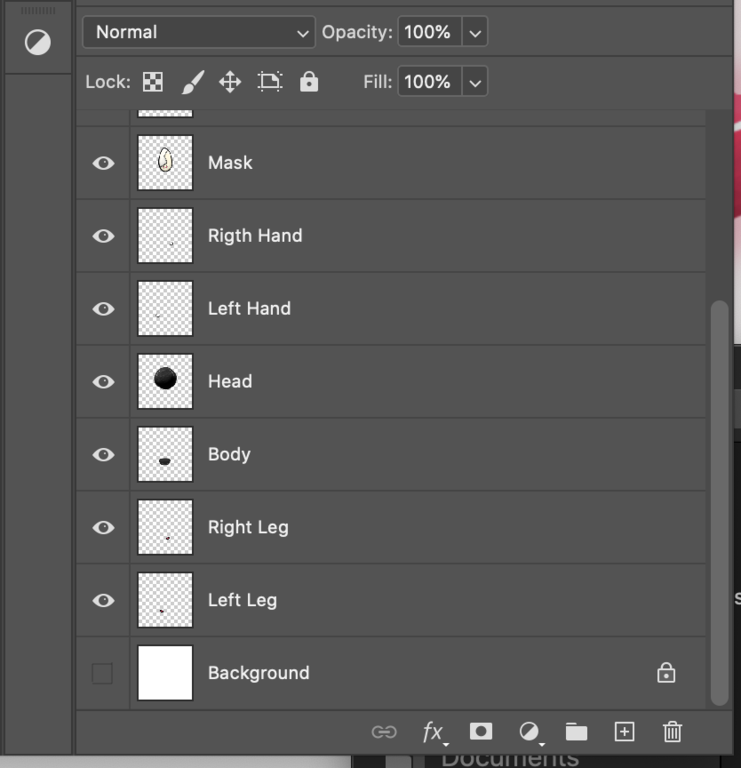
2. Once the character is ready to import create a new file and place all body parts as shown in the Minion Sprite picture above. Congratulations that's all you need to make it ready for Unity or any other animation software.
I will also add a blog post on How to import Sprites to Unity and animate it.