Adding Contact Form to Rails 5
Hash tags:
Mail Form
Ruby on Rails
Quick guide:
What needed?
Mail-Form gem
Mail-Form Home Page
SendGrid
SendGrid Heroku
Steps:
1. Install MailForm. Just edit your Gemfile adding the following:
What needed?
Mail-Form gem
Mail-Form Home Page
SendGrid
SendGrid Heroku
Steps:
1. Install MailForm. Just edit your Gemfile adding the following:
gem 'mail_form'
2. Run bundle install to install MailForm.
3. If there is no already a controller created go ahead and create one. In my case I named it Contacts. This will be a base controller for my
contact form. Run following to create one:
3. If there is no already a controller created go ahead and create one. In my case I named it Contacts. This will be a base controller for my
contact form. Run following to create one:
rails g controller Contacts index
4. Adjust contacts_controller.rb. Please note ContactForm is something we will need to add to our app/mailers folder. Don't forget to add strong parameters(contact_params).
class ContactsController < ApplicationController

  before_action :contact_params, only: [:create]

  def index
    @contact = ContactForm.new
  end

  def create
    @contact = ContactForm.new(params[:contact_form])
    @contact.request = request
    if @contact.deliver
      flash.now[:notice] = 'Thank you for your message!'
      render :index
    else
      flash.now[:error] = 'Cannot send message.'
      render :index
    end
  end

  private
  def contact_params
    params.require(:contact_form).permit(:name, :email, :message, :nickname, :captcha)
  end
end
5. Create New Mailer class in app/mailers folder. FYI nickname here is just for Honeypot captcha implementation. You can read more about it here.
class ContactForm < MailForm::Base
  attributes :name,  :validate => true
  attributes :email, :validate => /\A([\w\.%\+\-]+)@([\w\-]+\.)+([\w]{2,})\z/i
  attributes :message
  attribute :nickname,  :captcha  => true

  def headers
    {
        :subject => "Your subject",
        :to => "example@example.com",
        :from => %("#{name}" <#{email}>)
    }
  end
end
6. Creating Views. In my case I went with index.html.rb + partial for form:
Index:
<%= stylesheet_link_tag "contacts" %>

<div class="cont">
  <div class="map">
  <p>Google Map Link you can insert here<p>
  </div>
  <div class="contact-form">
    <h1 class="title">Contact Me</h1>
    <h2 class="subtitle">Please use form below</h2>
    <%= render 'contact_form' %>
  </div>
</div>
Partial:
<%= form_for @contact, url: contacts_path do |f| %>
  <div>
    <%= f.text_field  :name, required: true, class: "contacts-form-text-area", placeholder: "Your Name" %><br>
    <%= f.text_field :email, required: true, class: "contacts-form-text-area", placeholder: "Your E-mail Address" %><br>
    <%= f.text_area :message,
                    rows: 8,
                    cols: 40,
                    required: true,
                    class: "contacts-form-text-area",
                    placeholder: "Your Message"%><br>

    <div class= "hidden d-none">
      <%= f.text_field :nickname %>
    </div>

    <%= f.submit 'Send Message', class: 'btn-send' %>
  </div>
<% end %>
7. For the mail service I used Sendgrid. The easiest way to open a new account is through Heroku, go to addons page and just follow tutorial. Here is the LINK
8. Add SendGrid settings to config/environments/ and here to any ENV you want to use it. I added it to both dev and prod file. ENV['SENDGRID_USERNAME'] and ENV['SENDGRID_PASSWORD'] is easy to find in Heroku Config Vars. Also here is the SendGrid Dashboard link.
##
# SendGrid Settings
#
ActionMailer::Base.smtp_settings = {
:user_name => ENV['SENDGRID_USERNAME'],
:password => ENV['SENDGRID_PASSWORD'],
:domain => 'example.com',
:address => 'smtp.sendgrid.net',
:port => 587,
:authentication => :plain,
:enable_starttls_auto => true
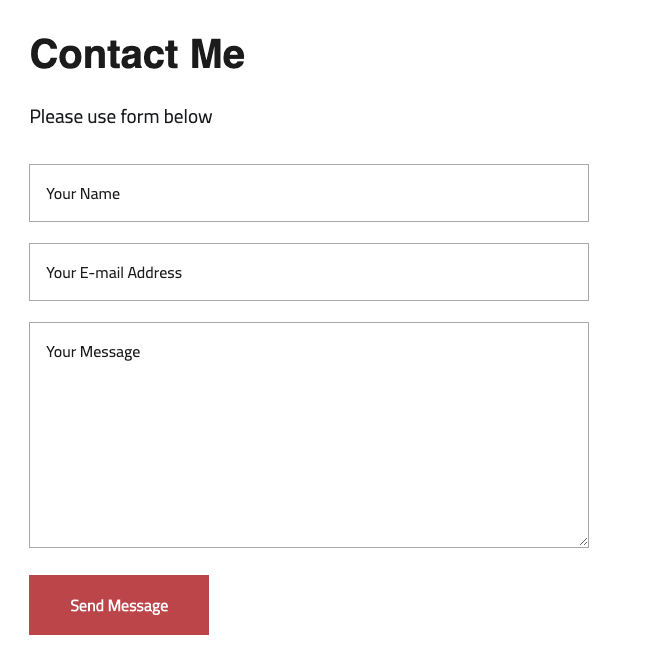
}9. This is it! Here is the example with some extra scss added to it: